Painting your living room can be a difficult task, especially when you are not sure of the best steps to do so. In this article, you will learn how you can paint your living room step by step to ensure that it’s looking the way you always imagined it would.
Pick Your Paint Color
Choosing the perfect paint color for your living room can be scary, but don’t fret!
To start, you’ll want to narrow down your options by considering the overall tone you want to create in the space. Are you going for a warm and inviting atmosphere or a more modern and sleek look? Once you’ve decided on the feel you’re going for, it’s time to start picking out paint colors!
If you’re stuck on where to start, begin by looking at paint swatches in similar hues to get an idea of what shades you like. From there, you can start eliminating colors until you find the perfect one for your space. These painters in South Brisbane advise you to also consult for a professional opinion. They can give you expert advice on what colors to choose.
Don’t forget to test your chosen color on a small section of the wall before painting the entire room. This will help ensure that you love the final result!
It’s also beneficial to consider the color of your furniture, as some paint might not match well with the furniture in your home.
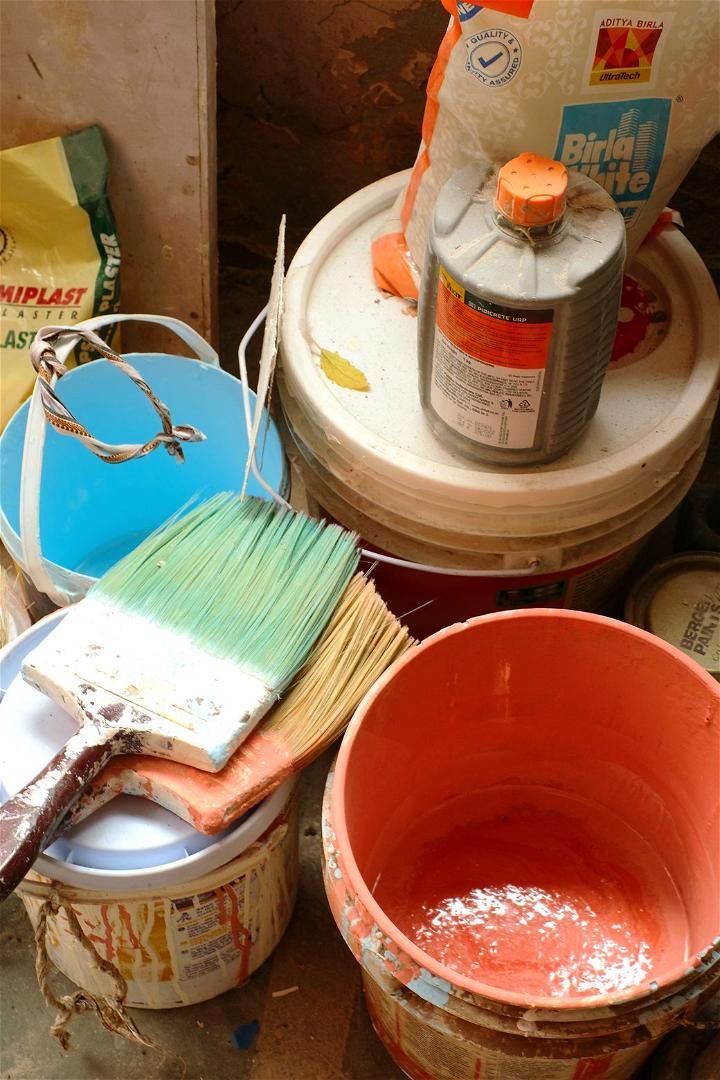
Take Out Your Tools And Materials
You will need to pick out all of the materials that you’ll need in order to paint your living room.
Gather the following supplies:
- Paint
- Paint brushes
- Paint roller and tray
- Ladder or step stool, if you cannot reach the ceiling
- Tarp or drop cloths
- Painter’s tape
- Old newspapers
Decide How Much Paint You’ll Need
To know how much paint you’ll need, you’ll need to know the dimensions of your living room. Use a tape measure to determine the length and width of all the walls in your living room.
Next, calculate the square footage of your living room by multiplying the length and width of each wall. For example, if your living room is 10 feet wide and 12 feet long, you would multiply 10 x 12 to get 120 square feet.
Once you know the total square footage of your living room, consult a paint calculator or ask a salesperson at the hardware store to tell you how many gallons of paint you’ll need for your project. Most cans of paint cover about 250 square feet, so keep this in mind when deciding how many cans to purchase.
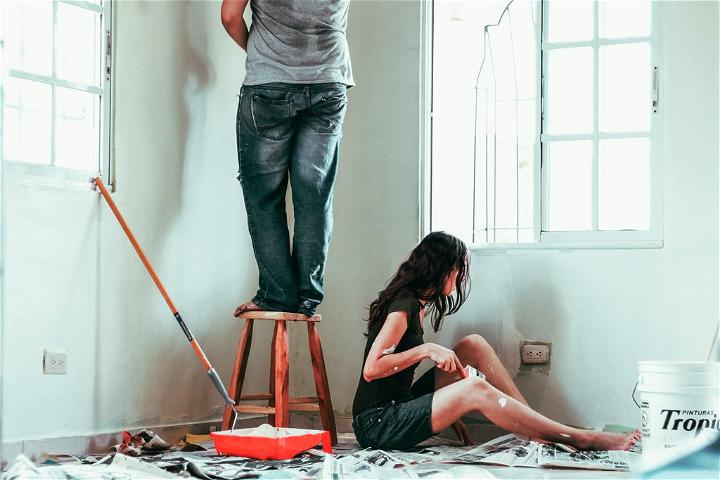
Prep The Walls
Paint will not adhere properly to dirty or greasy walls. To clean your walls, begin by washing them with a solution of trisodium phosphate and water. Wearing rubber gloves, use a sponge or stiff brush to wash the entire surface.
Rinse the walls with clean water and allow them to dry completely. Use sandpaper to rough up glossy surfaces and patch any holes or cracks with spackle. When your walls are clean, dry, and smooth, you’re ready to begin painting!
Mix Your Paint
Paint mixing is an important part of painting because it allows you to create the perfect color for your project. There are a few different ways to mix paint, and the best method for you will depend on the type of paint you are using and the effect you are trying to achieve.
One way to mix paint is to simply pour two colors side by side on your palette and then use a palette knife to blend them together. This technique works well if you are using acrylic or oil-based paints.
Another way to mix paint is to put a small amount of each color on your brush and then blend them together on the canvas or surface you are working on. This technique is called “wet-on-wet” mixing and it works best with watercolor paints.
If you want to lighten a color, you can add white paint to the mixture. If you want to darken a color, you can add black paint. You can also create different shades of a single color by adding various amounts of another color. For example, if you add more blue paint to green paint, you will create a darker shade of green.
Choose Your Painting Technique
Whether you’re painting your living room for the first time or the fifth, choosing the right painting technique can make all the difference in getting a professional-looking finish.
Here are some of the most popular painting techniques used by professional painters to give your living room that polished look:
Brushing: Brushing is the most common painting technique and is best suited for smaller surfaces. Use a brush to evenly paint your living room walls in long, even strokes.
Rolling: Rolling is best suited for larger surfaces and can help you achieve an even coat of paint more quickly than with a brush. Use a roller to evenly paint your living room walls in long, even strokes.
Sponging: Sponging is a great way to add texture and interest to your walls. Use a sponge to apply paint to your walls in short, quick strokes.
Stenciling: Stenciling is a great way to add pattern and design to your walls. Use stencils and painter’s tape to create interesting designs on your walls.
Don’t Forget To Ventilate
Good ventilation is key when painting any room in your home. It will help to avoid paint fumes from building up and causing headaches or nausea. When possible, open doors and windows to let fresh air in while you work. If the weather isn’t cooperating, set up a fan in the doorway to create a cross breeze.
Clean Up
After you have finished painting, it is important to clean up your supplies and materials. To do this, you will need a few items:
- A bucket of warm water
- A mild soap
- A sponge
- A towel
Begin by rinsing out your paintbrushes and rollers in the bucket of warm water. Use mild soap to wash the bristles of the brush, being sure to remove all traces of paint. Rinse the brush again in warm water to remove the soap.
Squeeze excess water from the brush with a towel and set it aside to air dry. Repeat steps 1-4 for each brush and roller that you used. Once all of your brushes and rollers are clean, wash out the bucket with soap and water. Rinse it well and allow it to air dry before storing it away
You should now have a good idea of how to paint your living room, and what colors and materials you need. Always remember to take your time when painting, and to clean up after yourself as you go. With a little bit of patience and effort, you’ll be able to transform your living room into a beautiful space that you can enjoy for years to come.